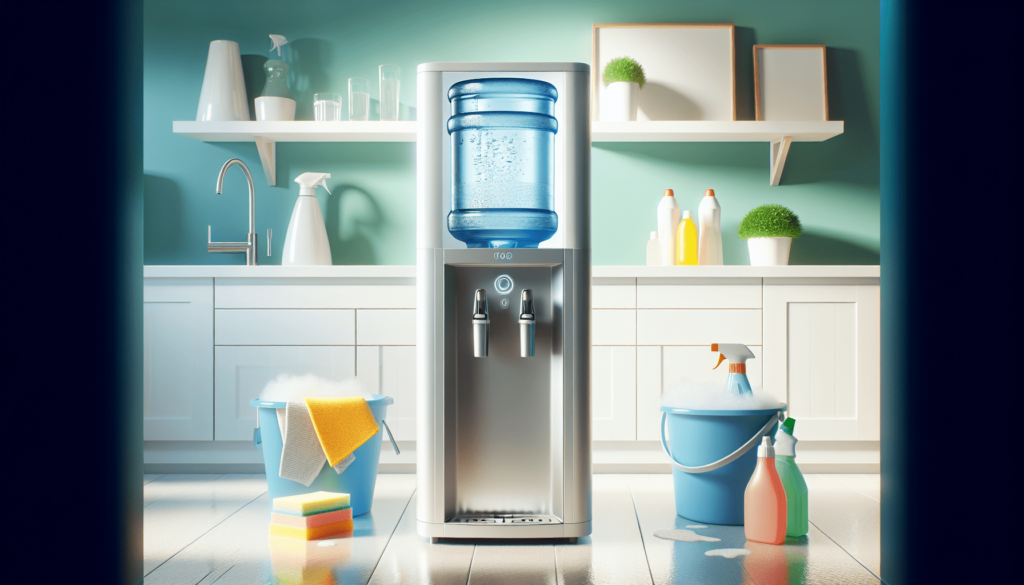
Have you ever considered how clean your water cooler dispenser really is? It might seem like a simple appliance, but keeping it hygienic is crucial for your health and the taste of your water.

Why Clean Your Water Cooler Dispenser?
Regular cleaning of your water cooler dispenser is essential. Over time, bacteria, mold, and mineral deposits can accumulate.
If you consume water from a contaminated cooler, it can lead to health issues and a less pleasant drinking experience.
Signs That Your Water Cooler Needs Cleaning
It’s not always obvious when your water cooler dispenser needs a good scrub. Here are some signs to look out for:
- Unpleasant Odor: If you notice any strange smells coming from your cooler, it’s a sign that it’s time to clean it.
- Visible Dirt or Mold: Check for any visible stains, mold, or algae in the reservoir or around the spouts.
- Changes in Water Taste: If the taste of your water becomes off or strange, it could be due to grime buildup.
When to Clean Your Water Cooler Dispenser
Depending on your usage and the environment, there are general intervals you should consider for cleaning:
| Interval | Recommended Action |
|---|---|
| Weekly | Wipe down external surfaces. |
| Monthly | Clean the drip tray and internal components. |
| After Each Use | Replace empty bottles and inspect for dirt. |
Maintaining a routine will help keep your dispenser tasting fresh and looking clean.
What You Will Need
Before you start cleaning, gather the necessary supplies:
- Mild dish soap or a specialized cleaner
- White vinegar or bleach
- Soft cloths
- A sponge
- A bucket or basin
- A brush with soft bristles (optional)
- Disposable gloves (optional)
Having everything ready will make the cleaning process much smoother.

Step-by-Step Guide to Clean Your Water Cooler Dispenser
1. Unplug the Water Cooler Dispenser
Safety first! Always unplug your water cooler before you begin any cleaning process. This will prevent any electrical accidents while you clean.
2. Remove the Water Bottle
Carefully lift the empty bottle off the dispenser. Make sure not to spill any remaining water in the bottle. It’s best to replace it after you’ve cleaned the cooler.
3. Clean the Drip Tray
The drip tray can collect grime quickly. Here’s how to clean it:
- Remove the tray: Take the tray out of the dispenser.
- Wash with soap: Use warm, soapy water along with a sponge to scrub it.
- Rinse and dry: Make sure to rinse it thoroughly to remove any soap residue, and let it air dry.
4. Clean the External Surfaces
Using a damp cloth with some mild soap or specialized cleaner, wipe down:
- All external surfaces of the cooler.
- The buttons, spouts, and any other parts that might be touched frequently.
5. Prepare a Cleaning Solution
Decide whether you’ll use vinegar or bleach for the interior cleaning:
- For Vinegar: Mix a solution of 1 part vinegar to 3 parts water.
- For Bleach: Use 1 tablespoon of bleach diluted in a gallon of water.
6. Clean the Interior
Using a soft cloth or sponge, dip it into the cleaning solution and:
- Wipe the reservoir: Focus on corners and the bottom where grime can build up.
- Clean the spouts: Make sure to get inside the spouts as well. A brush can help for tough spots.
7. Rinse Thoroughly
After scrubbing, it’s crucial to rinse everything:
- Use clean, warm water: Fill the reservoir with clean water and let it sit for a few minutes before draining it.
- Rinse any remaining surfaces: This will ensure there’s no cleaning solution left that could contaminate the water.
8. Sanitize the Dispenser
After rinsing, it’s good to sanitize:
- Refill the reservoir with a mixture of water and a small amount of bleach or vinegar.
- Let it sit for 5-10 minutes, then drain it.
- Rinse thoroughly again with fresh water.
9. Reassemble the Water Cooler
Once you’ve cleaned and sanitized every part:
- Reattach the drip tray.
- Plug the cooler back in.
- Place a new bottle of water on top, making sure it’s securely in place.
Additional Tips for Maintenance
Regular Inspections
- Check for leaks: Frequently inspect your cooler for any signs of leaks or moisture.
- Watch for mold: Keep an eye on areas that tend to accumulate moisture, as they can become breeding grounds for mold.
Use High-Quality Water Bottles
Quality water bottles can reduce the risk of contamination. Make sure you’re sourcing your water from reputable suppliers.
Educate Others
If you share a cooler with coworkers or family, remind them about cleanliness. Encourage everyone to wipe down surfaces after use.
Common Mistakes to Avoid
When cleaning your water cooler dispenser, avoid the following errors:
Using Harsh Chemicals
Avoid using harsh cleaners or abrasive sponges, as they can damage the surface and leave harmful residues.
Skipping the Rinse Step
Neglecting to rinse thoroughly can leave cleaning solutions in the reservoir or on surfaces, affecting the quality of your water.
Overlooking the Drip Tray
It’s easy to forget about the drip tray, but it’s a hotspot for bacteria. Remember to clean it regularly!
Conclusion: Keeping Your Water Cooler Dispenser Clean
If you want fresh, clean water every time you fill your glass, maintaining your water cooler dispenser is vital.
Regular cleaning can help ensure that your hydration is healthy and enjoyable.
By following the steps outlined and staying consistent with your cleaning routine, you’ll notice the benefits of a well-maintained cooler.
Start incorporating these practices today, and enjoy the refreshing taste of clean water!
